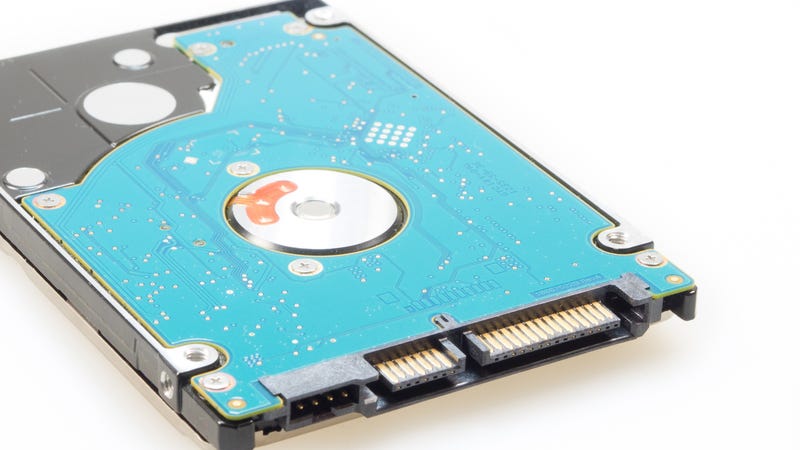
Free-up-space-on-your-hard-drive-automatically with Storage Sense
Windows: Sometimes, finding the right Windows settings to automate some portion of your digital life feels like digging through the nooks and crannies of your couch to find loose change. In this case, Windows’ “Storage Sense,” a handy way to automate hard drive cleaning, has probably been staring you in the face for awhile, you just never thought to activate it. And you should.
Windows has plenty of built-in tools you can use to free up space on your shrinking hard drive. I like Storage Sense because it’s a simple way to automate a few easy space-saving tasks.
Finding and Enabling Storage Sense Is Easy
Click on the start menu icon and start typing “Storage”. The first result that pops up, Windows’ system settings for storage, is exactly what you want.
In the screen that appears, you should see the “Storage sense” header staring you right in the face, along with a big “Off” button—since, for whatever reason, Windows doesn’t enable this setting by default. Before you turn it on, however, click on “Change how we free up space automatically” link.
Not only can you also enable Storage Sense from this window, but you can decide how often you want Windows to automatically run it. You should be fine letting Windows decide on its own when its time to give your hard drive a quick clean, but you can also go all the way down to a daily run if you’re feeling ambitious.
Why Storage Sense Is an Awesome, Automated Cleaner
When Storage Sense runs, it cleans out Windows’ Temp folder of all the junk you don’t need anymore. It also deletes old files in your Recycle Bin—defaulting to files older than 30 days, but you can also drop that down to just one day if you’re feeling adventurous. Storage Sense can also delete old files in your Downloads folder but, if you’re like us, you use that as a dumping ground for everything, so you might not want to enable that option.
Storage sense can also delete any previous versions of the Windows operating system still left on your computer after an upgrade to Windows 10. Typically, this is that giant “windows.old” directory on your primary hard drive. You’ll only need to do this once, but it’s a great way to free up some extra space.
Once you’ve finished configuring the cleaner, give it a quick run by hitting the big “Clean now” button. It’s the first and last time you’ll ever have to do so, now that Storage Sense will run on your behalf.


